Exterior

Galvalume - Metal Siding Everyone Loves

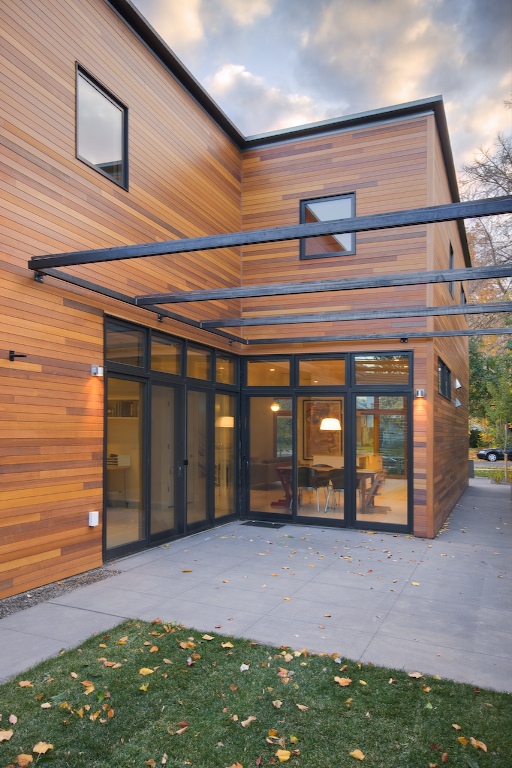
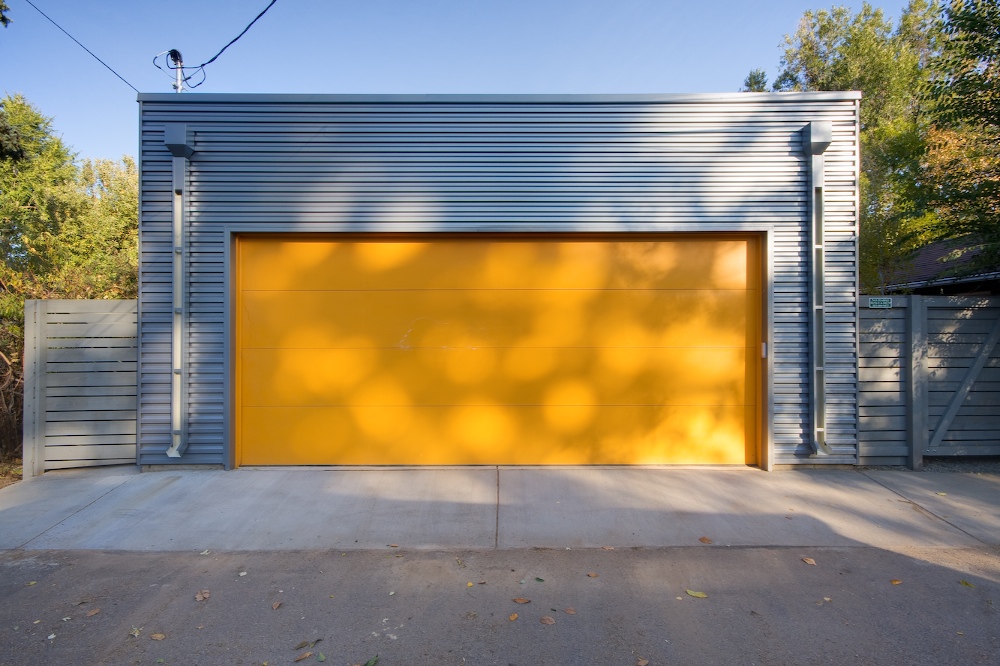
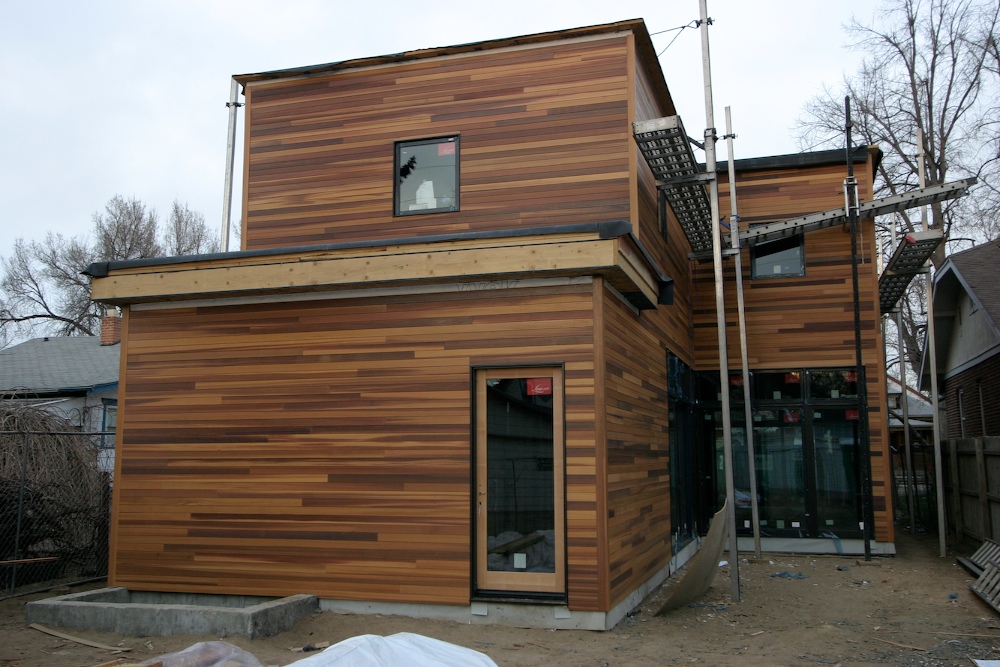
By far the most commented on and requested material on the blog is the Garage Metal Siding (the cedar siding on the main house comes in as second).  Nearly everyone we meet that has been by the house mentions the garage siding.  Many people are so in to it that they then drive down the alley to check it out up close.  Don’t get us wrong, we love it too, but covering the entire house with it probably would have been overkill, not to mention a bit noisy with expansion and contraction.

The beauty of Galvalume is that it behaves so differently based on the lighting condition – it can vary from a very light aluminum silver all the way to a very dark blue gray color.  There is a richness to this finish that goes beyond anything a simple paint finish can ever achieve. Plus, it is way nicer than any standard metal siding we have seen.

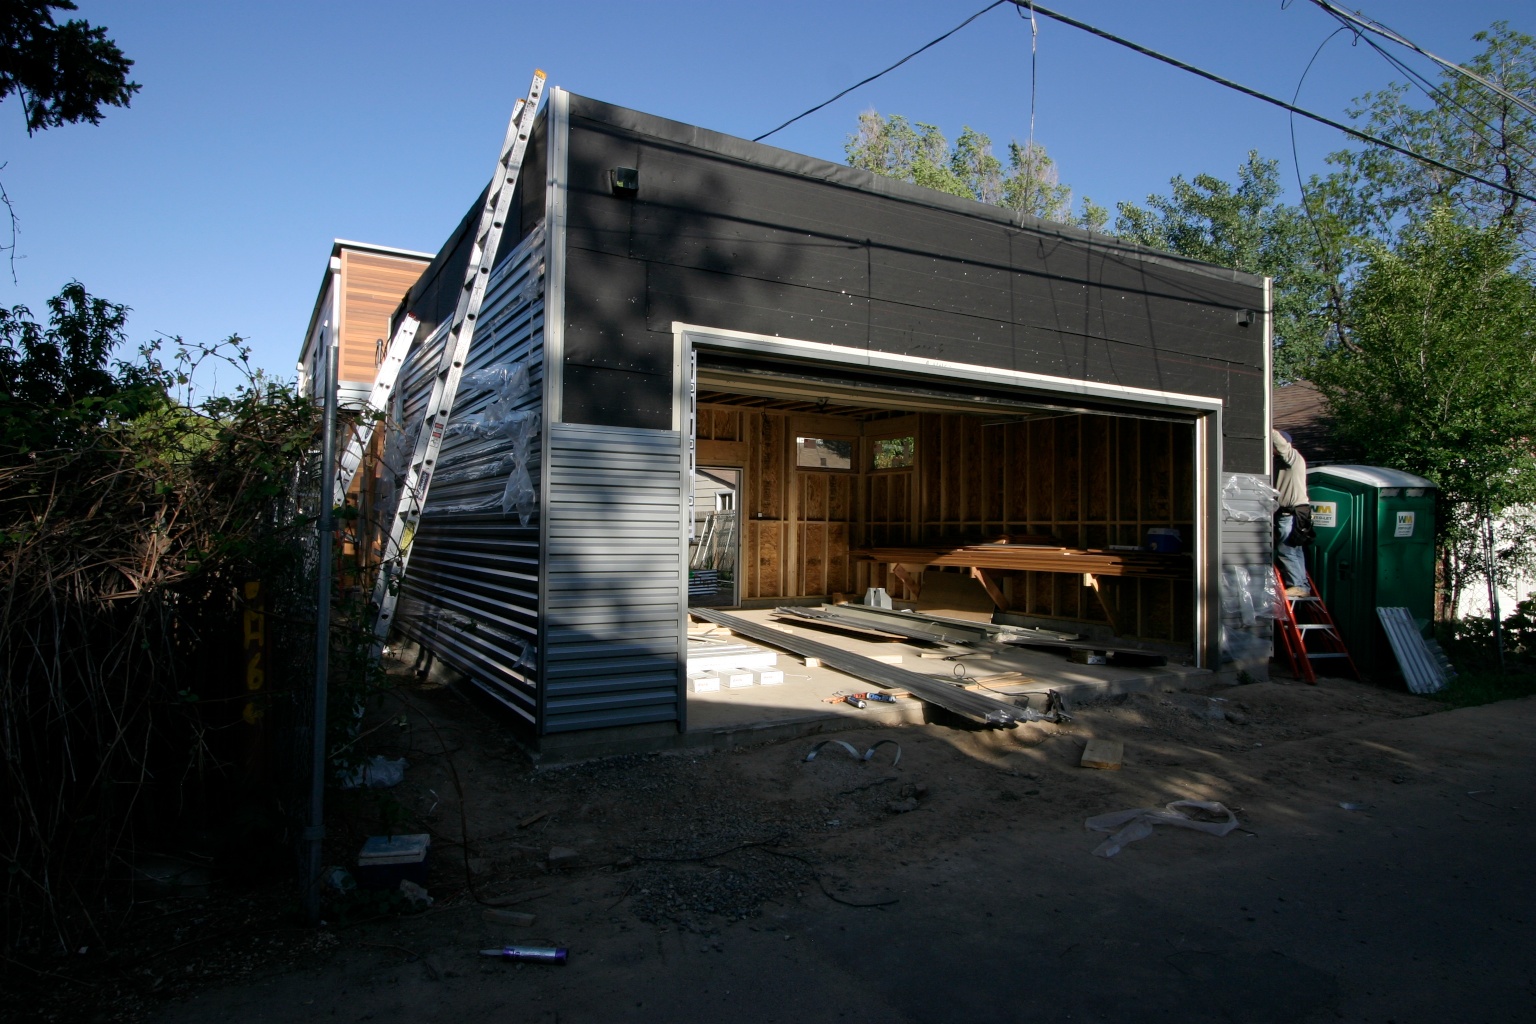
The concealed fastener version of this metal panel also keeps the focus on the panel and corrugated pattern vs. the distraction of exposed fasteners.  We used Berridge’s HR-16 wall panel in their “Pre-weathered Galvalume” finish.  The installation is fairly straightforward--we used an OSB substrate with felt over a simple 2x6 stud wall.

Check out the installation photos to see it going in and some of the finished photos too.


Exterior Photos

With the landscape work completed just before Halloween, we decided we should get some pro photos before all the trees lose their leaves. Unfortunately, we were not able to complete all the landscaping due to lack of plants at the end of the season.  Once the beds are complete and grow out a bit more, we will take some additional shots.

We hired Michael Deleon, professional photographer extraordinaire, for this task. For the above shot he arrived before the sun came up!

Interior shots coming soon...

Siding - Horizontal Cedar


The Haida cedar siding has arrived from the staining shop.  Nicholas and his crew started installation right after completing the door and window installation. 

We are getting our heads around the fact that the “representative” samples we received from the stack aren’t that spot on.  Considering our entire house is being covered with this stuff, its character will define it.  Unfortunately, there are some very, very dark pieces and a significant number of them. We were trying to achieve a more uniform and lighter look.

Nicholas has been dutifully blending the batch, but the outcome on the first two elevations is very stripey.  Some may see it as adding a richer character to the exterior, however, we had always envisioned it being a clear and even color throughout.  Nancy will explore some additional staining options - maybe we can tone the spectrum of color down a bit.

Other than being extremely wasteful (ordering a lot more than we need and picking through it), I don’t see many other options to getting a single color product from a mill. 

Steel Trellis & Swing

Gerry Wallace and his crew came over for a full all day push to install the simple steel frame over our back patio today.  We've had this in the works since early on in the design process, as the west facing walls of our house take on brutal amounts of solar gain during the summer months.  Instead of huge overhangs or individual shading devices for each opening, we decided that a nice seasonal shading device would be more appropriate.

Our large sliding door openings are low-e and have triple pane glass, however, glare is still a problem, so instead of lowering the indoor blinds, we can have this nice canopy covering the entire patio space.

During the winter months we can take down the solar fabric and get the direct sunlight when we need it (or want it).

The swing frame attaches to the garage and provides a nice spot for the kids to play - they refer to the area as their hideout.

Getting Close

We are still working out the details on what we can afford on the landscape, so in the mean time, here are some “nearly finished photos” to tide you over.

Click on the image above to see a cool pop up sequence of large images.

Flatwork

Benjamin’s crew has been working on site grading and building forms for the last few days, and yesterday, the colored concrete was poured for the patios and walks.  Finishing this part of the project really ties the house to the site and highlights the indoor/outdoor feel at the sliding doors.  We went with a medium warm grey for the integral color on the concrete.  The photo above shows the wet concrete.  However, after some curing for a couple days, it’s settling into a medium gray. 

For some privacy, we are doing a small garden wall at the front patio.  This will be done as a separate pour.  The city sidewalk and garage apron (sloped ramp) will be a third pour done next week.

Check out the saw cut pattern that was added a day after the pour in the photo sequence above.

Exterior Lighting

SClarkson-Ext-Lighting

Rob has the major exterior electrical wrapped up - the connection to the Xcel service is complete and all the exterior light fixtures and outlets are in!  We went for subtle exterior fixtures made of brushed aluminum.   

To keep the wires from the alley away from our house, we connected the main feed to the garage and via conduit underground, brought it into the basement.  As part of the installation, Rob also included conduit for a photovoltaic panel array on the roof - this allows us the option of solar if we have any “extra” money at the end of the project.

Break Metal Work

Jerry’s crew from CO Metal Source has installed all of the parapet and the first two sections of the fascia on the lower roofs.  Some areas need tweaking, but on the whole, it’s coming out very nice!

This is really the last finishing touch on the exterior other than landscape.  The Galvalume is a wild finish.  It changes dramatically depending on the daylight - in can vary from a very light silver all the way to dark gray.  If you check out the close-up, it even has a “grain” to the finish which gives it further character.

Siding-Take Two

Much better now.  We lost some sleep over this siding thing.  The contrasting stripes were getting to us.  Nancy and I spent a considerable amount of time sorting the entire stack of pre-stained clear cedar and sorted it into light, medium, and dark.

We suggested that the guys mix the two lighter varieties on the front and north elevations.  The result is a more subtle appearance and much more palatable to us.

Numerous people said they liked the “character” and “richness” of the dark mixed in, but there was just a little too much of that for us!  Another point that was made, is that by year two, the colorado sun will have this wood bleached out anyway...A big thanks to Nicholas and his crew - they did a fantastic job on the remaining areas of siding.

You’ll see the color differences depending on the location of the sun.

Break Metal Work

Break metal work on residential projects is frequently done poorly - there always seems to be something wrong - the gauge is too thin so it “oil cans” (waviness), or it’s some color that clashes with the rest of the colors, or it’s just plain poorly installed!  Curt found what appears to be a very good metal sub contractor, and we’ve been talking through the parapet and fascia details.  The lower roofs are so thick (SIPS + roof curb), that we are attempting to bring the scale down by stepping the metal fascia into three sections.  Jerry of CO Metal Source mocked up a section to review.  We adjusted the top section to better match the parapet above, and stepped it out a little further to help differentiate it with more of a shadow line.  It will be installed some time this week!